
© 2026 Purdy® Company.
How to Best Prep Your Walls for Painting
How to Best Prep Your Walls for Painting
Step 1
Make a list. Check it twice.
Pros know proper prep is the key to a perfect finish. Even if you’ve done a particular kind of job too many times to count, it’s best to check your supplies before you start. You may have less of something you need or misplaced an item that’s essential. Take inventory before you start so you won’t need to run back to the store in the middle of the day. Here’s a basic list you can customize to fit the type of job.
BASIC JOB ESSENTIALS
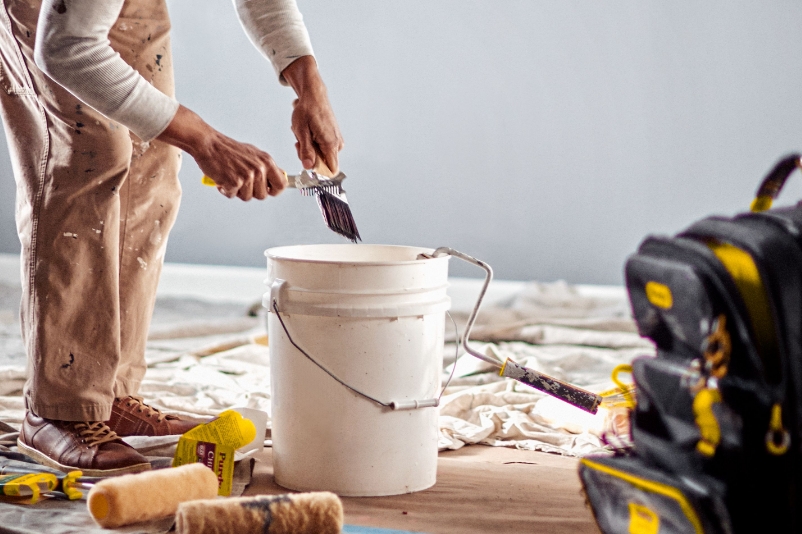
- Tarp or drop cloth
- Sanding block or sponge
- Premium 10-in-1 Multi-Tool
- Putty Knife
- Joint Knife
- Wire Brush
- Spackle
- Joint compound
- Soap and TSP degreaser
- Sponge and clean rags
- Caulk and caulk gun
- Shop vacuum cleaner
Step 2
Protect things left in the room
Ideally, you’re working in an empty space. If not, cover furniture and other large items that can’t be moved with a sturdy tarp. Leave plenty of space to move around and work. Remove and protect the small stuff too. Take off wall décor, electrical outlet covers, switch plates and vents and remove nails with the Premium 10-in-1 Multi-Tool.
Step 3
Don’t skip a drop cloth
Paint splatter or drips on the floor happen even to the best of Pros. A quality drop cloth absorbs any paint that spills on it.
Step 4
Clean and degrease the surface
- You know you want to start with the smoothest surface possible. Start cleaning the walls from the top down.
- This is the time to get rid of the existing grease, grime, dirt and dust on the walls. Start in the top corners, using a duster to brush down and get rid of cobwebs near the ceiling. Tackle the baseboards with the duster or rags too. Use TSP to degrease and thoroughly clean the walls.
- You may need to use a painter’s rag and extra elbow grease to remove stubborn stains and unsightly marks or spots.
Step 5
Wall prep
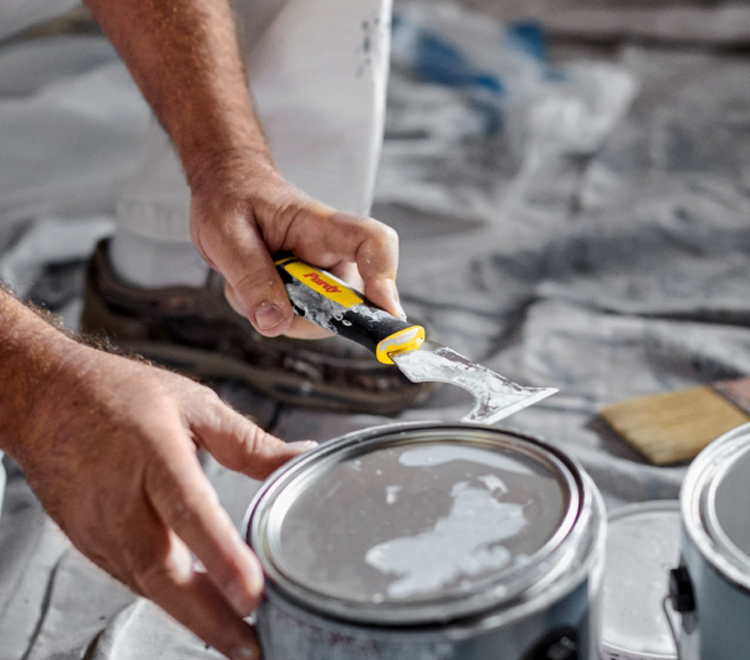
Once the wall is completely dry it’s time to address nicks, dings, cracks and little holes in the wall with spackle.
- Using a putty knife, pack the spackle into the damaged areas and let it dry. Then use a sanding sponge to smooth out the surface.
- If you have peeling paint or large uneven surfaces, remove loose pieces and use a joint compound to even out the wall.
- If you spy any paint drips, sand them down.
- If you notice the trim has separated slightly from the walls, you’ll want to fill in the gaps with paintable caulk.
- Be sure to vacuum floors and wipe the baseboards and walls with a clean cloth to remove any sanding dust.
Step 6
To tape or not to tape
Purdy stiff brushes like Clearcut™ and Clearcut™ Elite™ are designed to create sharp, crisp lines without the need for painter’s tape. Sometimes, novices are more comfortable using painter’s tape but it’s not necessary.
Step 7
Prime if needed
Use the proper primer on the entire surface if it is newly constructed, stained by water or smoke, prone to mildew, rusted, or aged. You also may need a primer if covering a dark color with a light one.