© 2024 Purdy® Company.
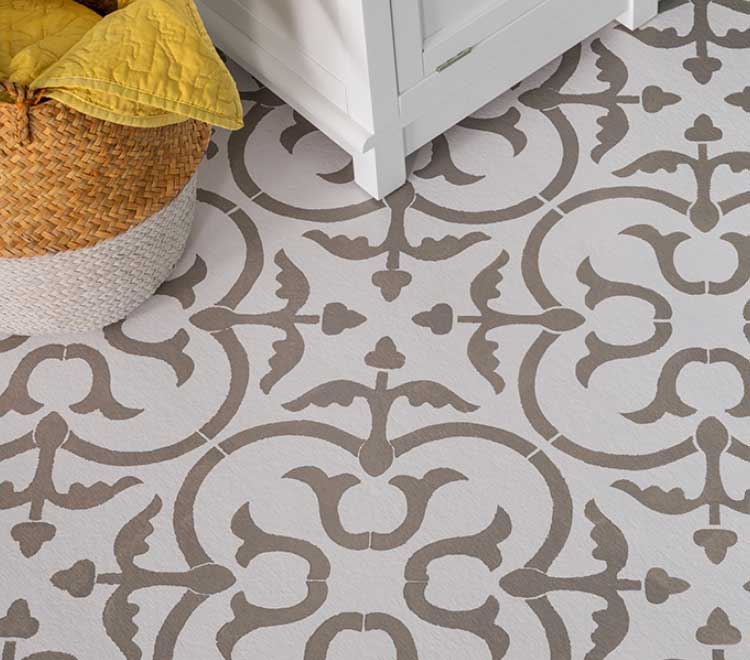
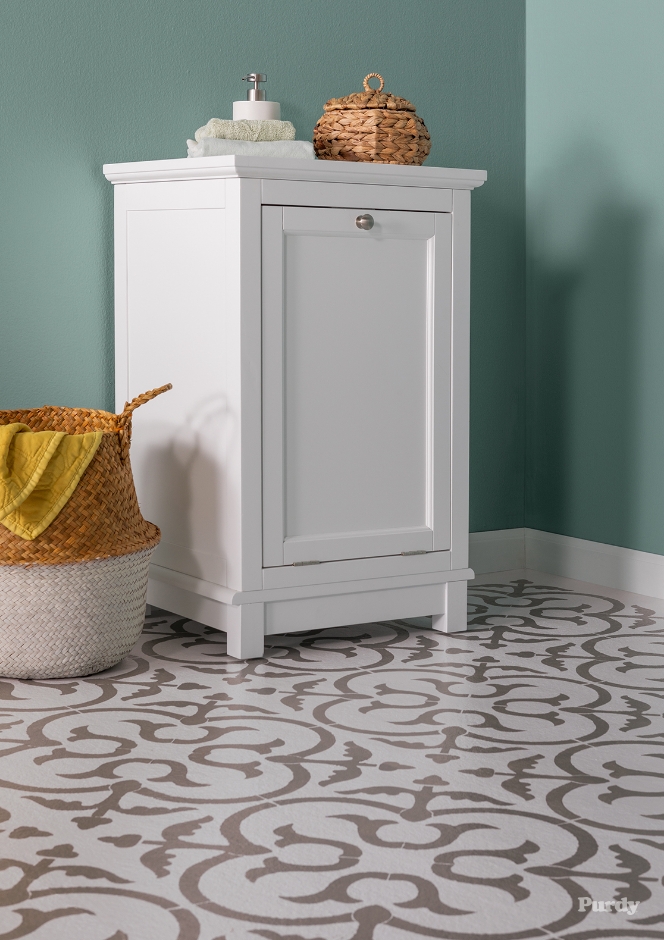
How to Paint Stenciled Floors
Transform your laundry room, living room, kitchen or patio floor with an eye-catching look of patterned tile.
How to Paint Stenciled Floors
Transform your laundry room, living room, kitchen or patio floor with an eye-catching look of patterned tile.
GOAL OF PROJECT
Add character to concrete floors by simply using floor paint or stain and a stencil.
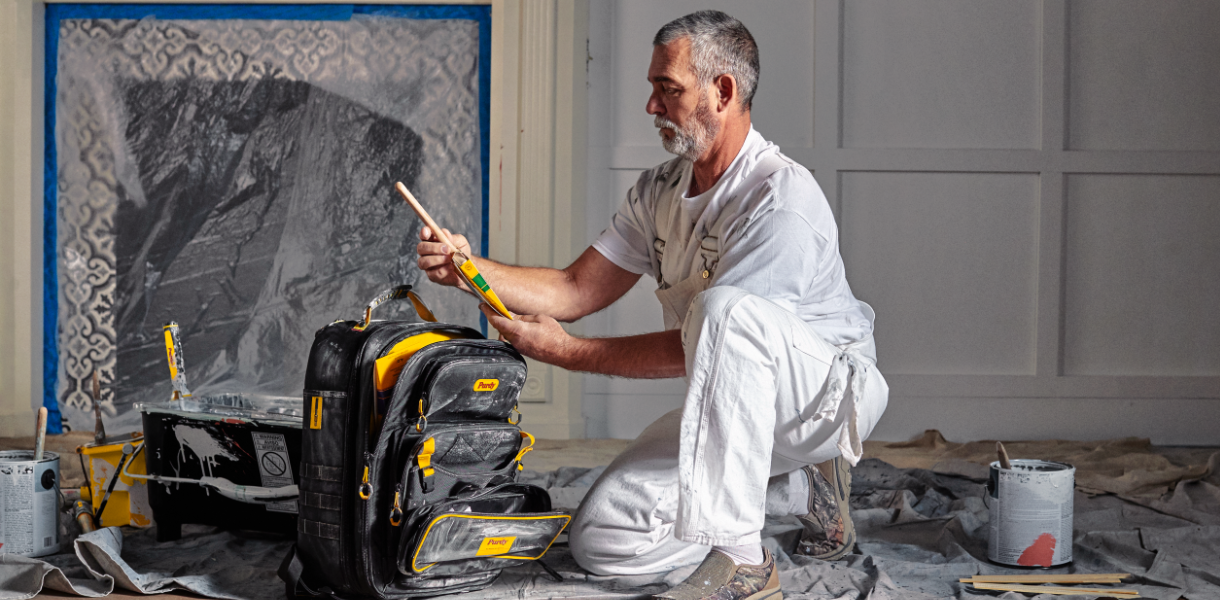
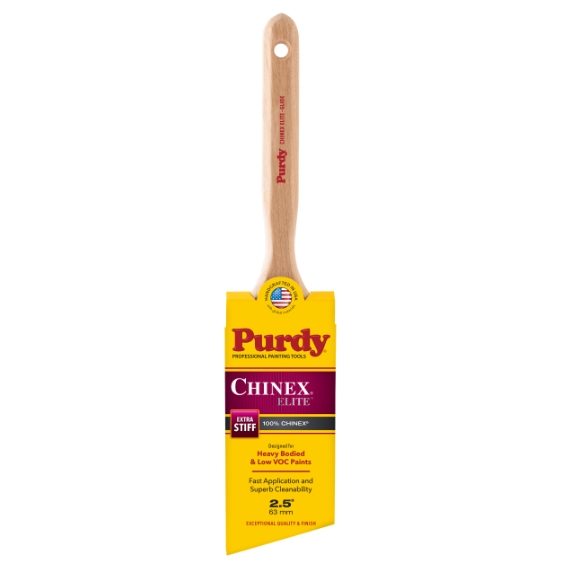
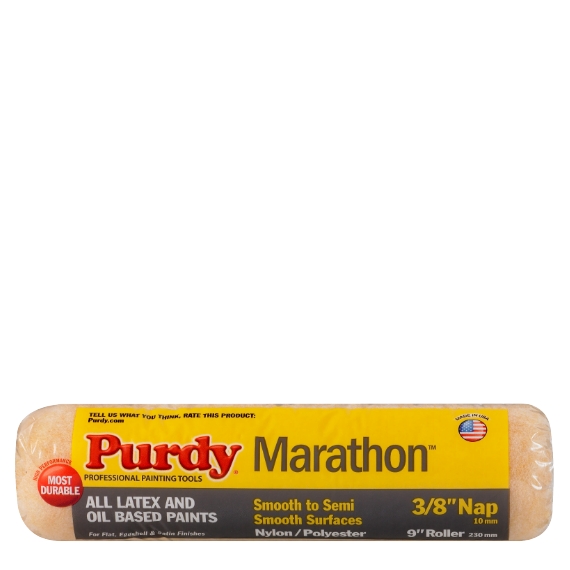
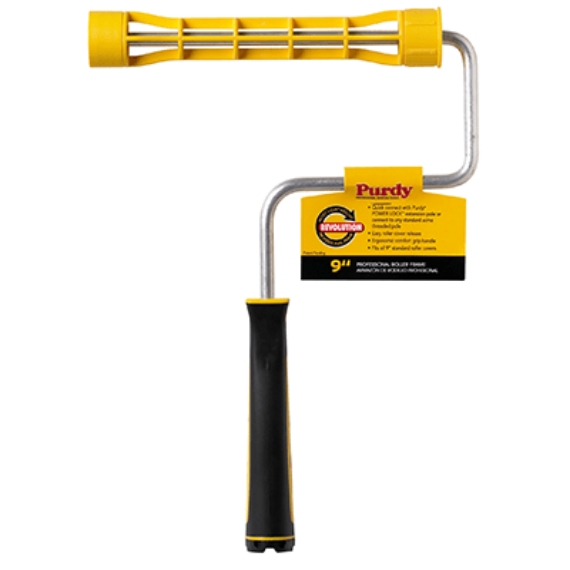
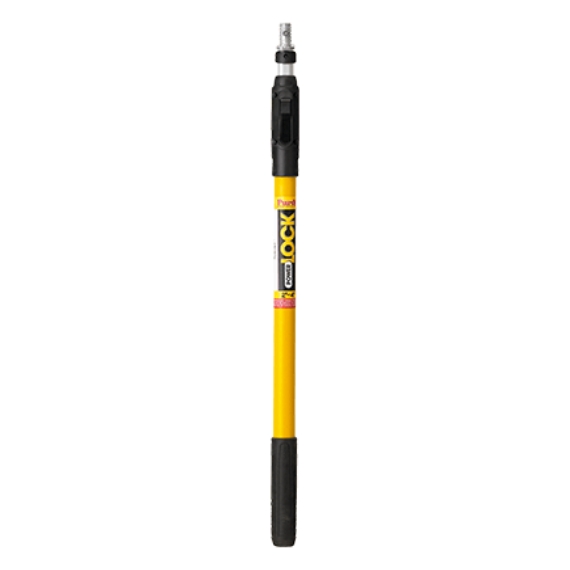
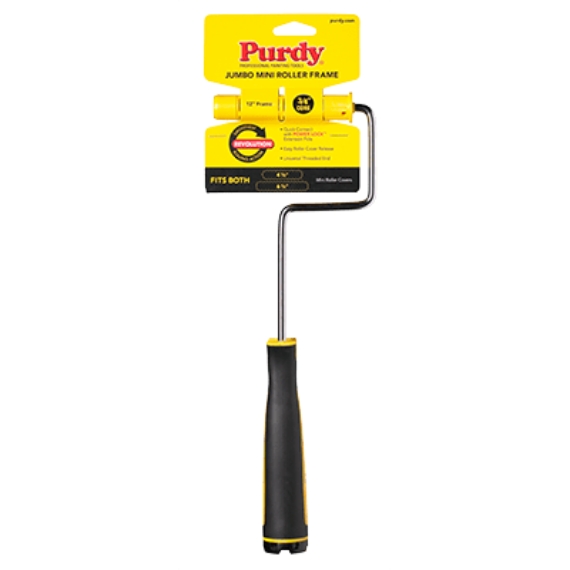
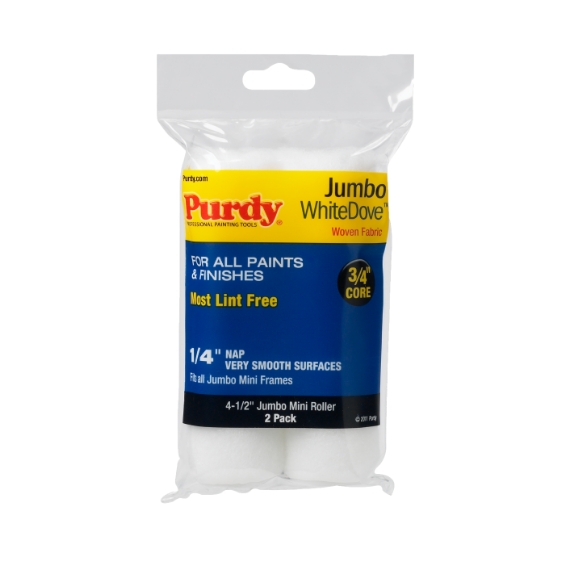
Purdy® Supplies You’ll Need

Nest Tray System 9” Tray
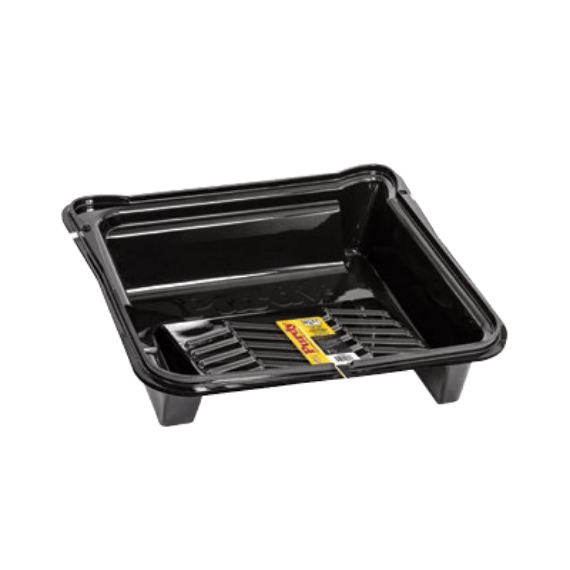
Nest Tray System 9” Tray Liner
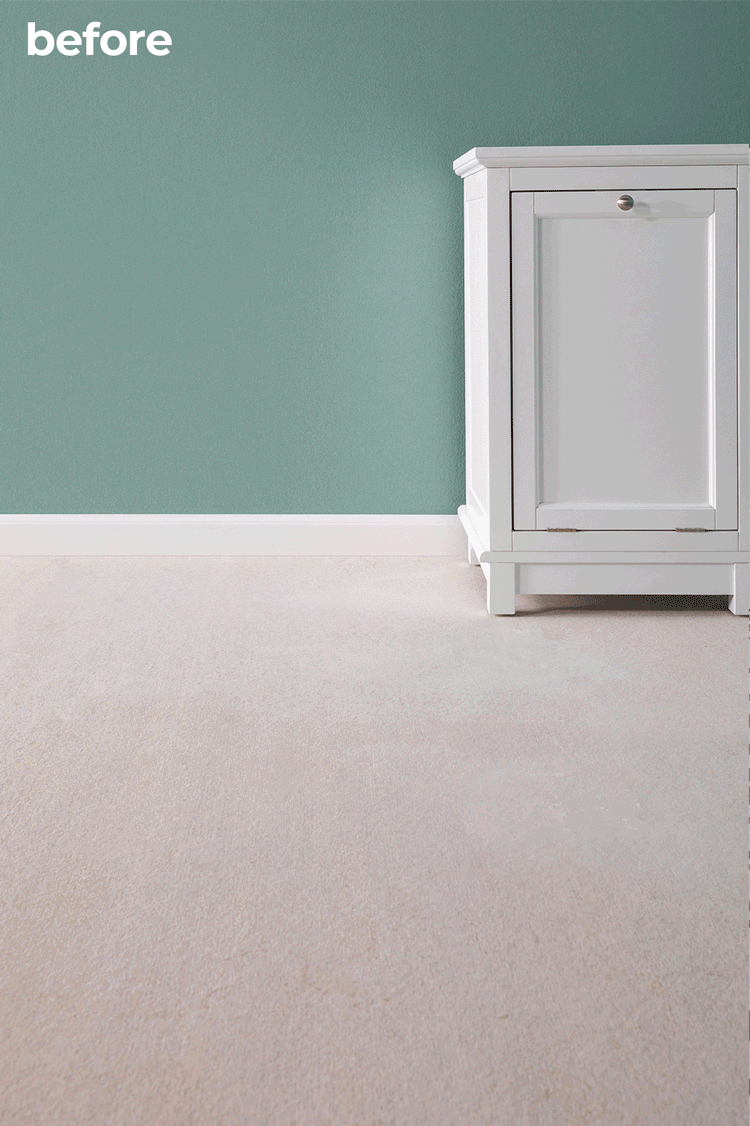
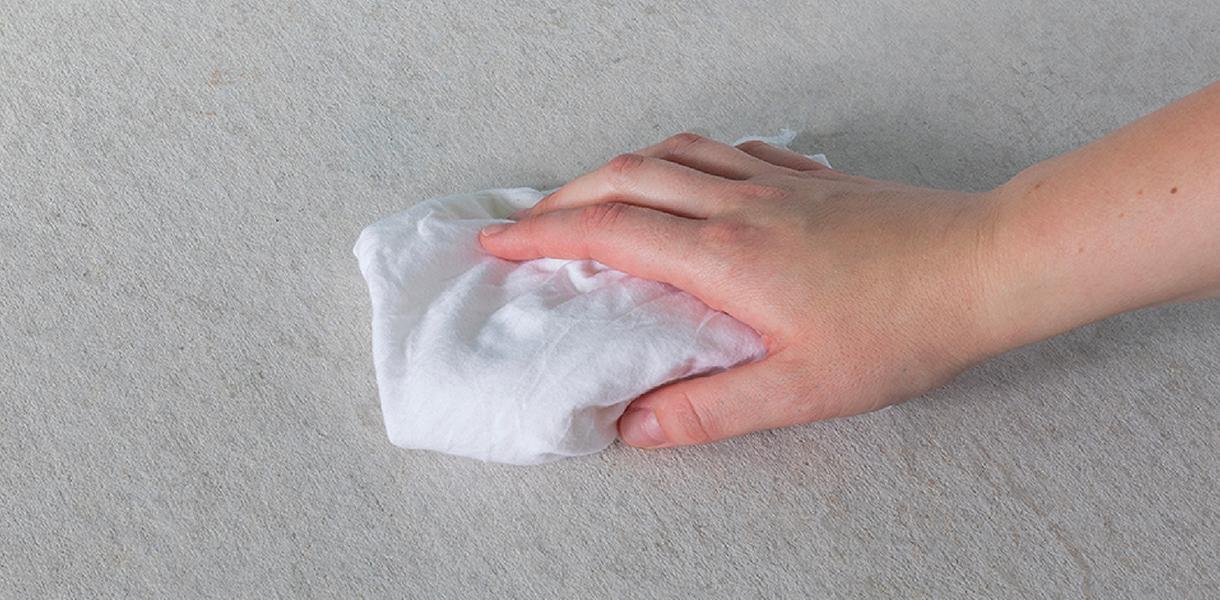
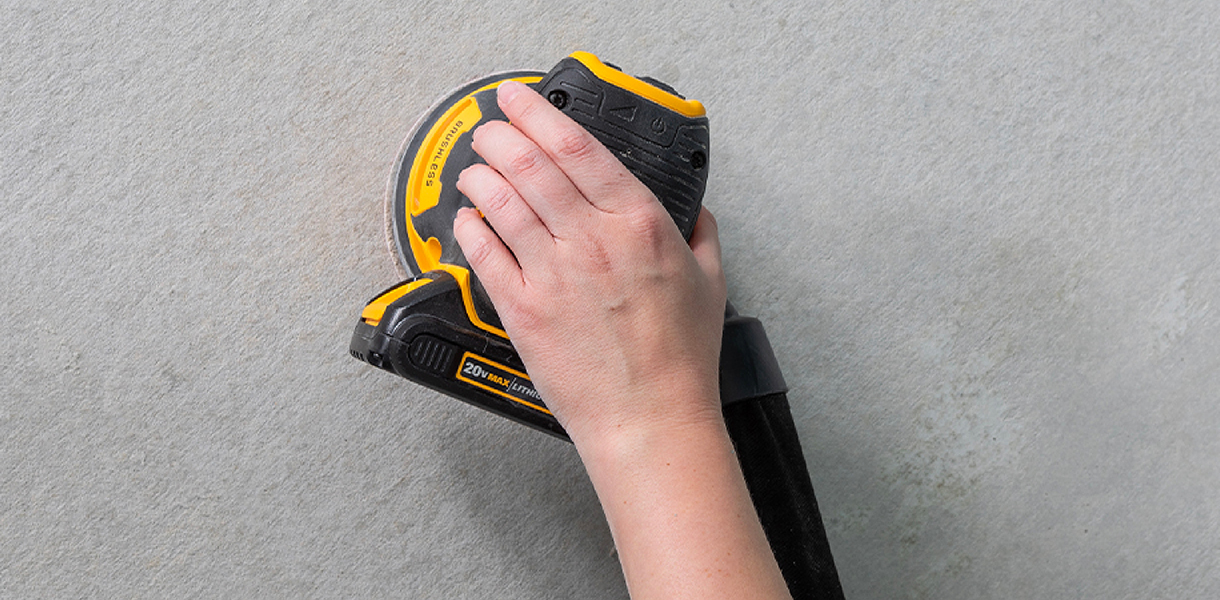
Step 1 Prep the floor
Start with a clean, dry surface to ensure proper adhesion of the stain. Follow cleaner/etcher label for instructions and dry times. Use a sander to get rid of glossy spots and surface imperfections. Thoroughly vacuum the surface.
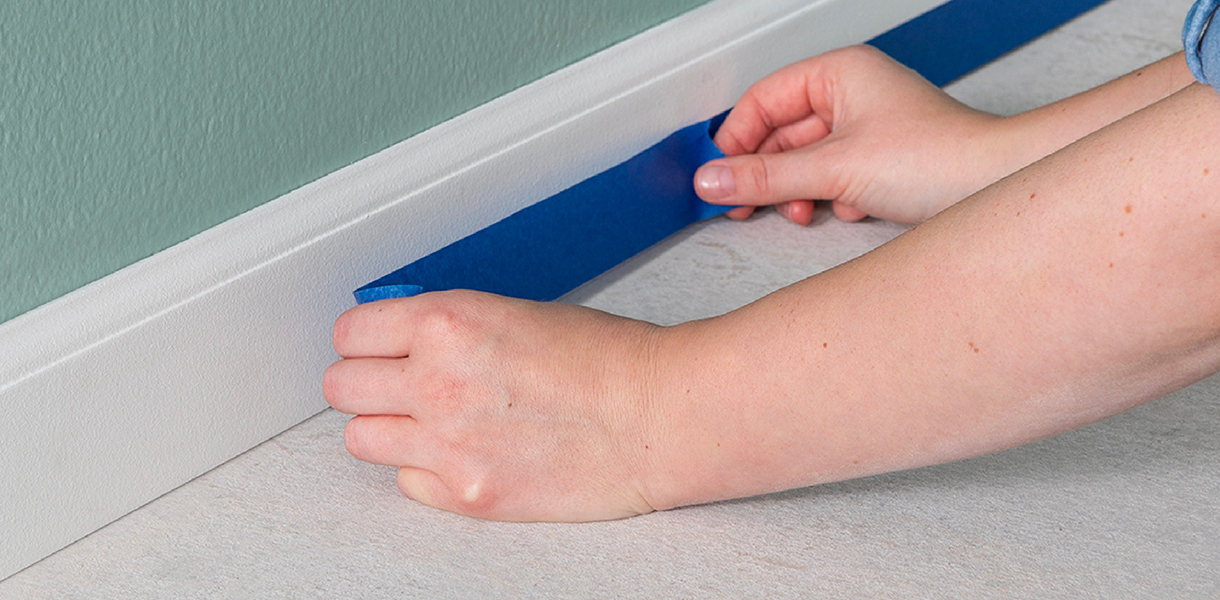
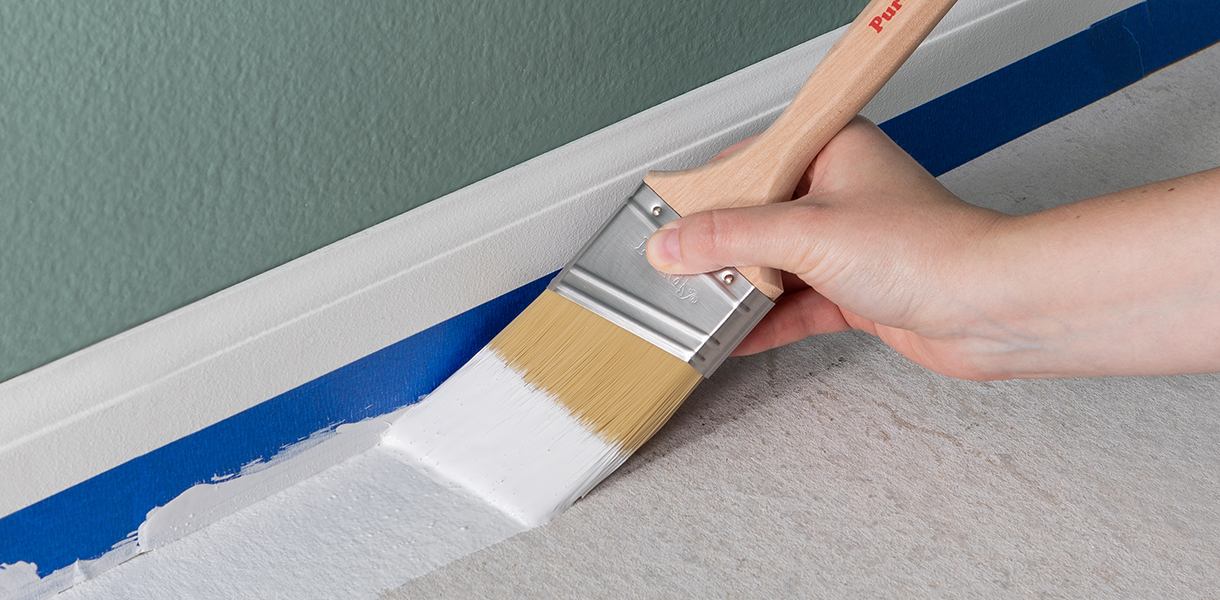
Step 2 Tape
Tape off baseboards and door frames with masking tape.
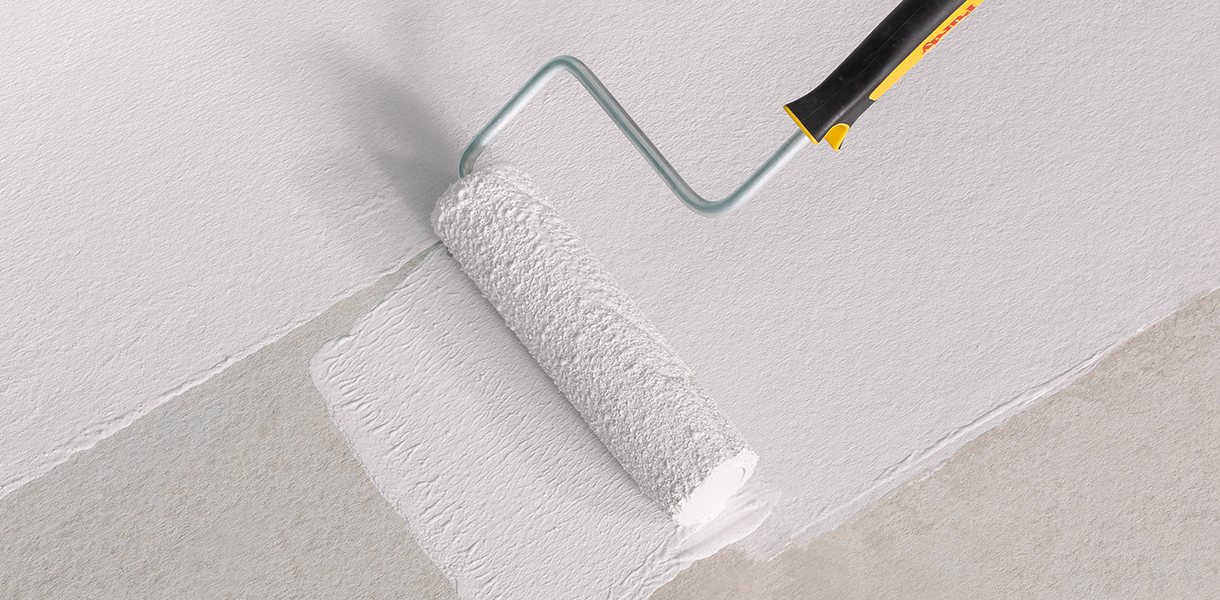
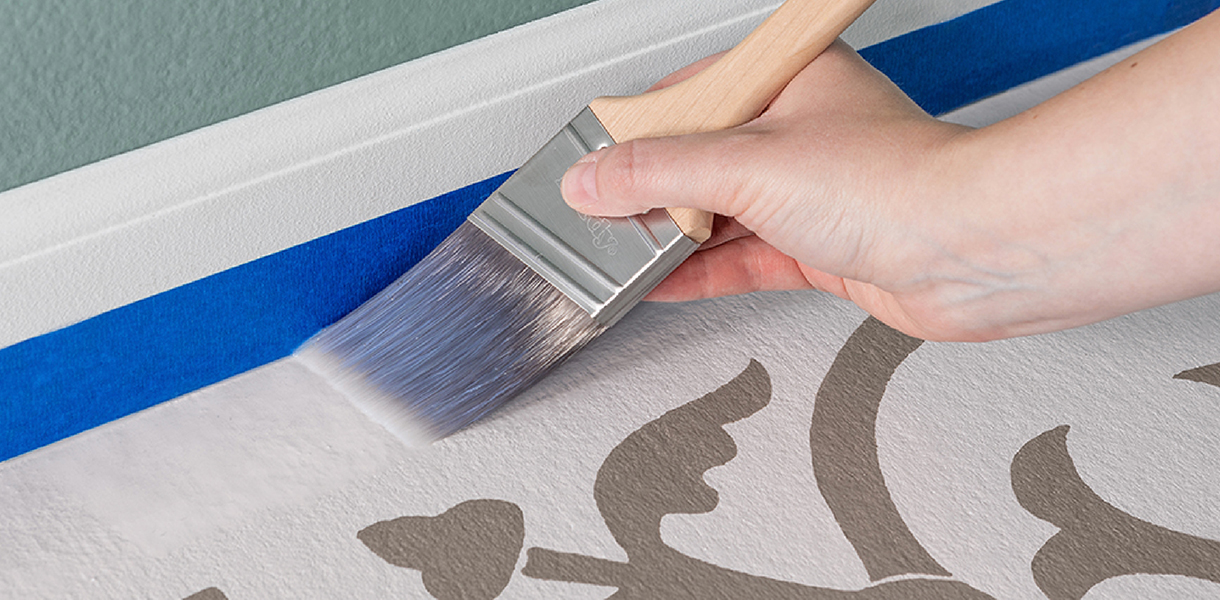
Step 3 Apply base color stain
Use your Chinex® Elite brush to cut in and around the perimeter of the floor. Chinex® Elite brushes have stiff bristles to provide a sharp cut-in line and are great for rough surfaces like concrete.
Use your Marathon® roller on an extension pole to apply the stain. Marathon® provides fast, even coverage and ensures the stain is thoroughly worked into the concrete surface.
Step 4 Position the stencil
Plan your stencil layout. If your space is rectangular, start at the corner of the room and work your way out. If it’s an irregular shape, you might want to start in the middle of the floor to make sure the design is centered. Place your stencil and secure it in place with masking tape.

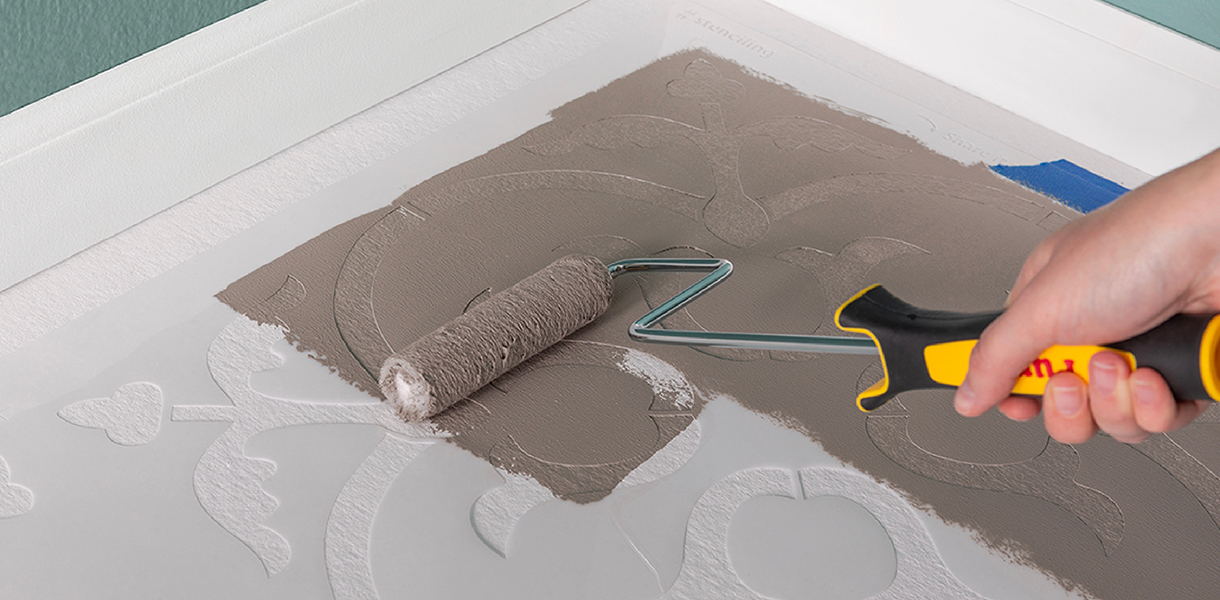
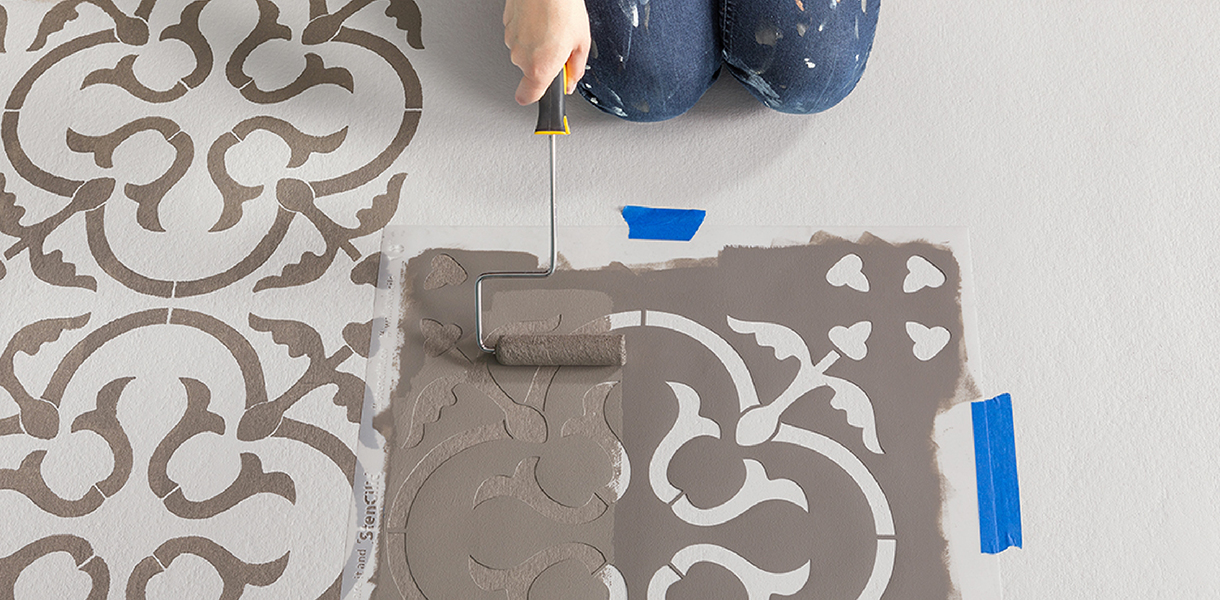
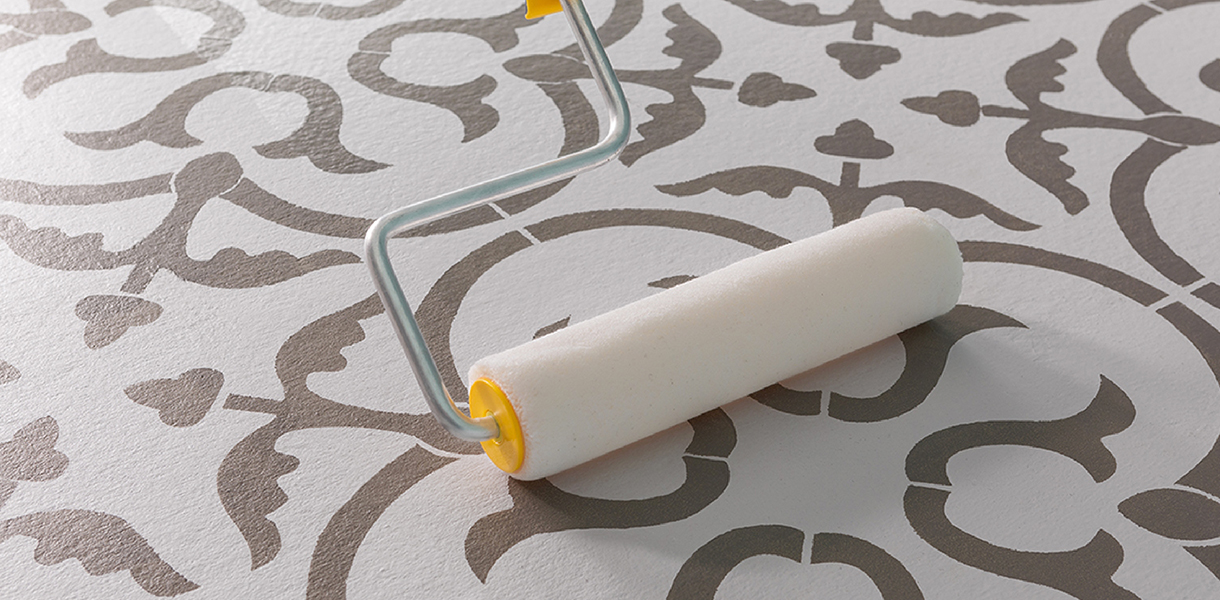
Step 5 Apply design color
Using your WhiteDove™ mini roller, carefully apply the design color, working in one direction. WhiteDove™ provides a smooth, lint-free finish.
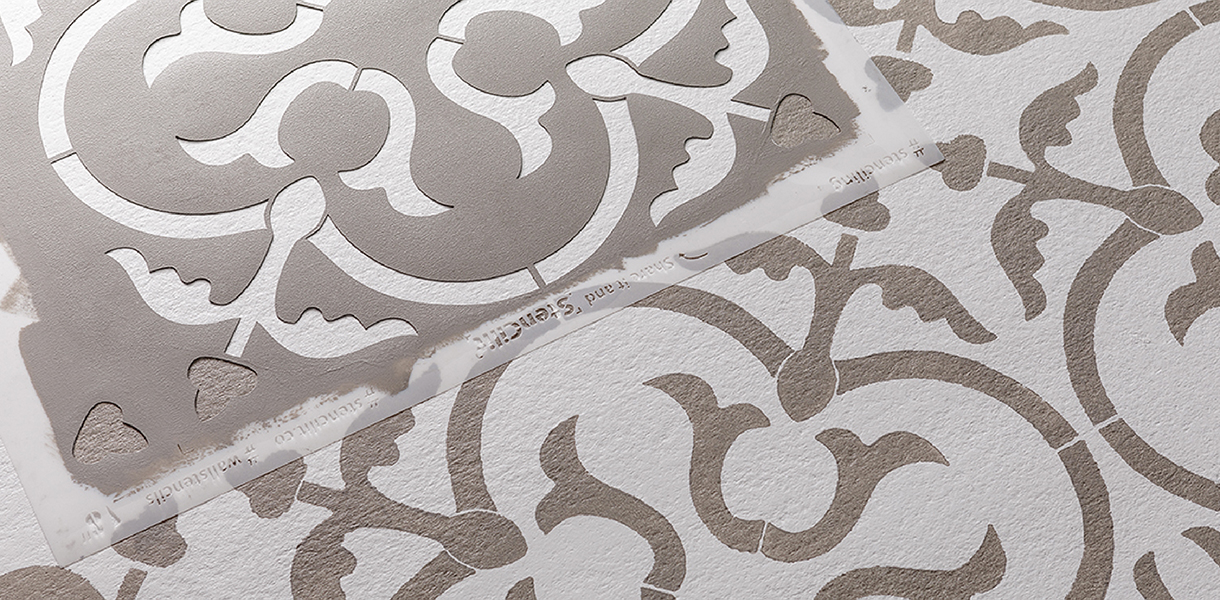
Step 6 Reposition the stencil
Once the paint is dry to the touch, reposition the stencil, making sure the design creates a seamless pattern. Repeat the process until the whole floor is covered. You might need to cut the stencil when you get to the edge of the floor.
Step 7 Apply clear sealer (optional)
Once the stain has completely cured, you can seal your floor with a clear topcoat. This step is especially important for exterior or high-traffic areas to ensure your design will last. Use your Syntox™ brush to apply clear coat around the edges. Syntox™ has extra-soft bristles that create a smooth finish with no brush marks. Use a WhiteDove® roller and an extension pole to apply the sealer onto the main surface of the floor. WhiteDove® creates a professional, lint-free finish.
Following the product label, allow the clear sealer to fully dry before walking on your new floor or moving back the furniture.
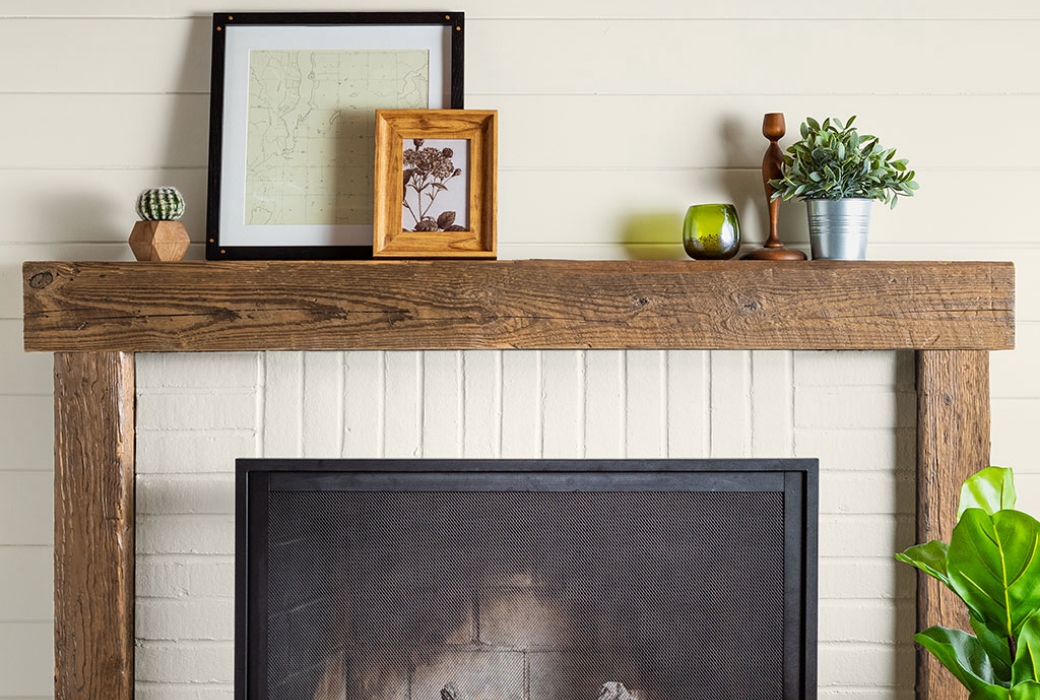
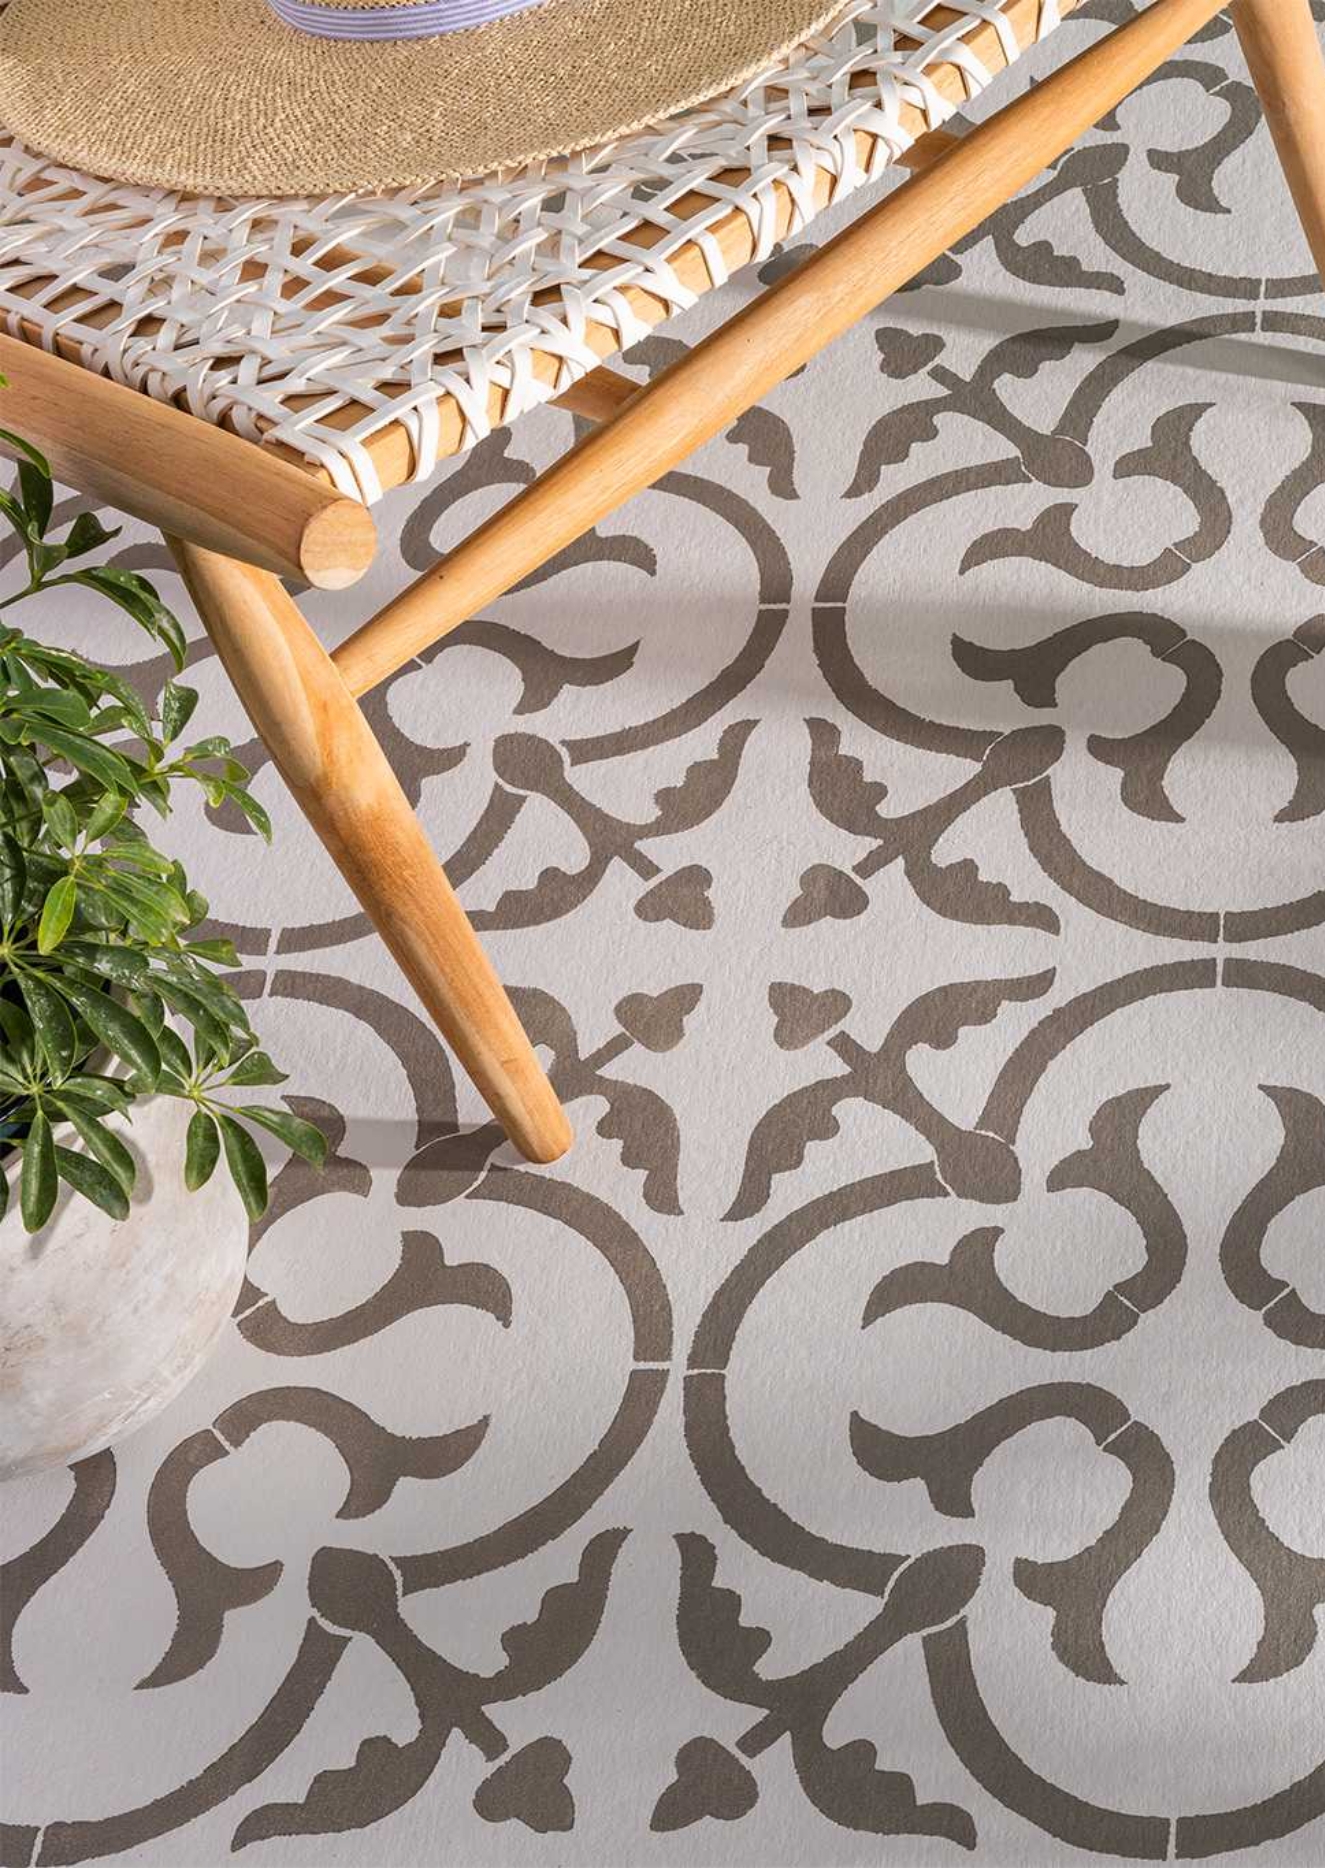
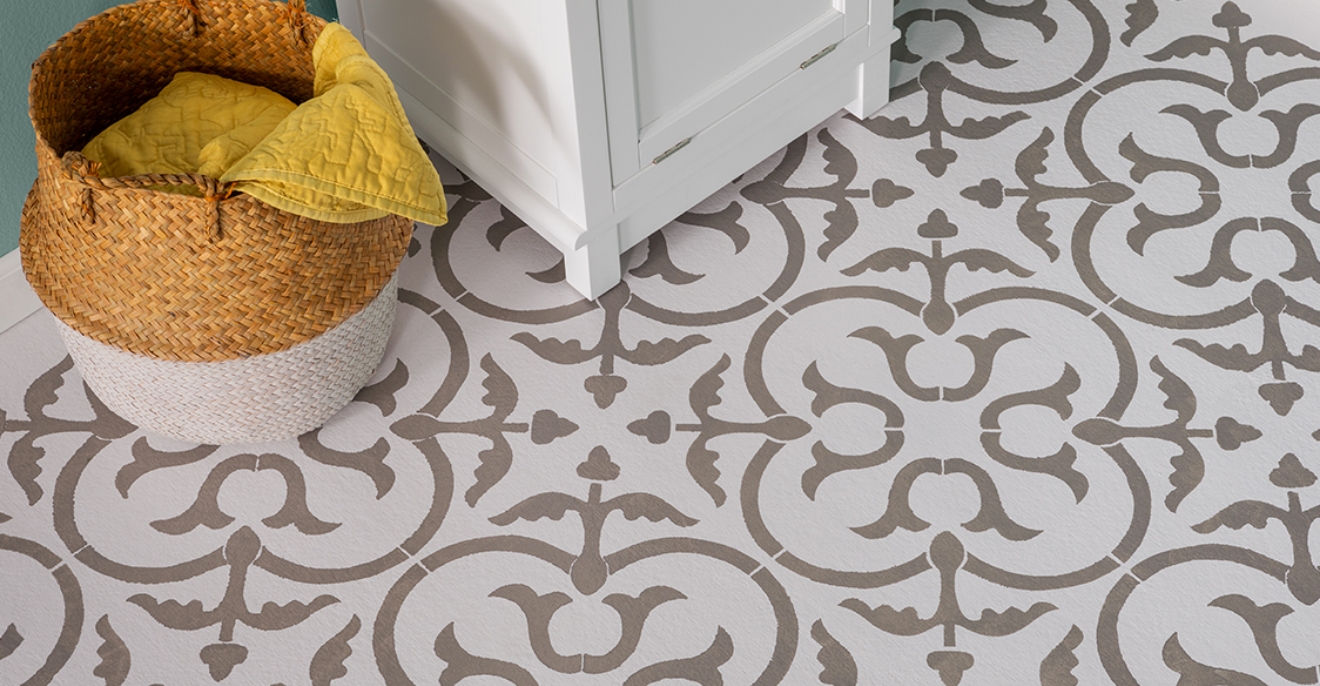
Completed Project
Related Projects