Easy DIY Fireplace Makeover

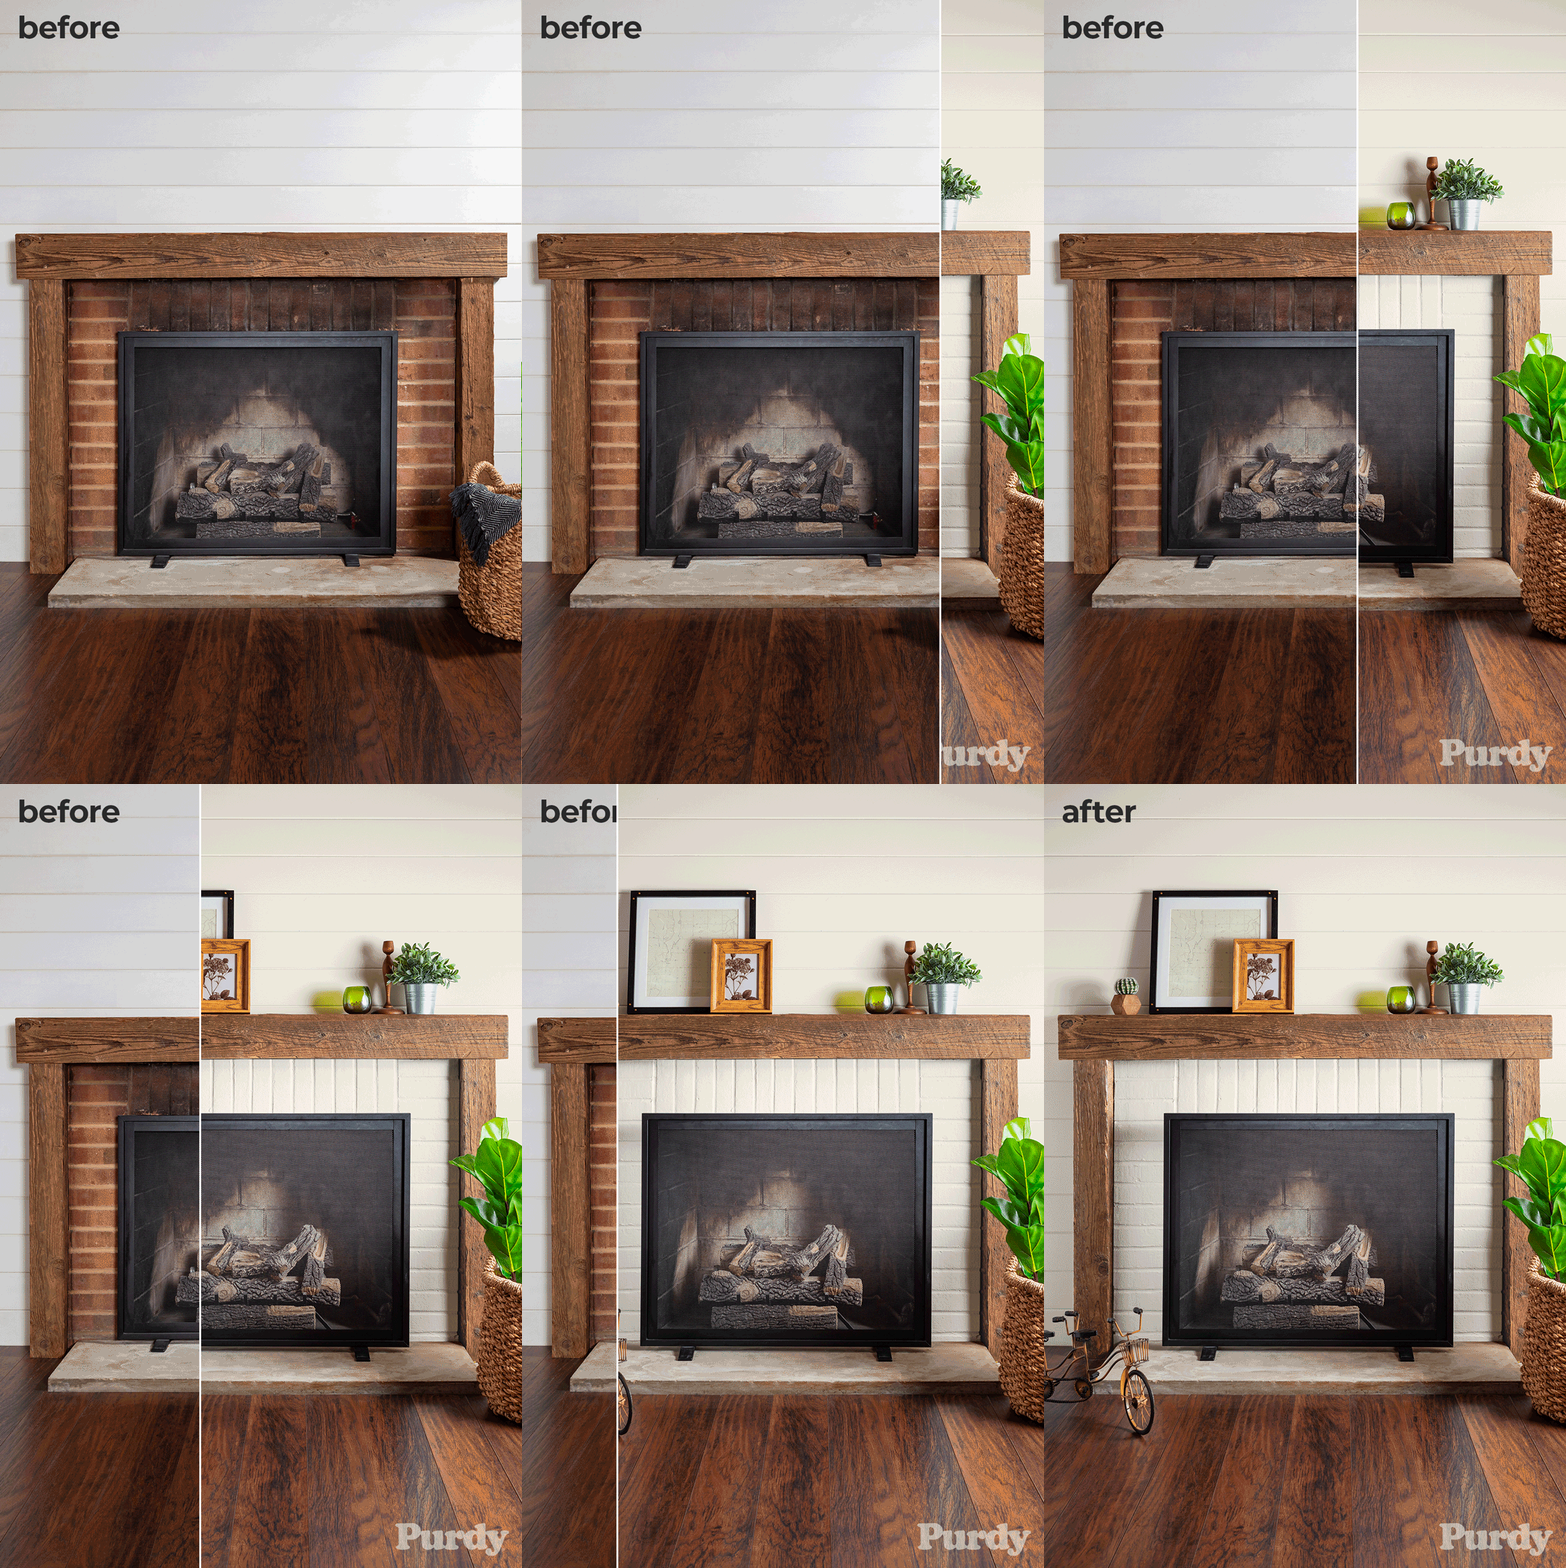
Turn an outdated fireplace into a modern beauty with a few coats of paint and a wood stain for the mantle.
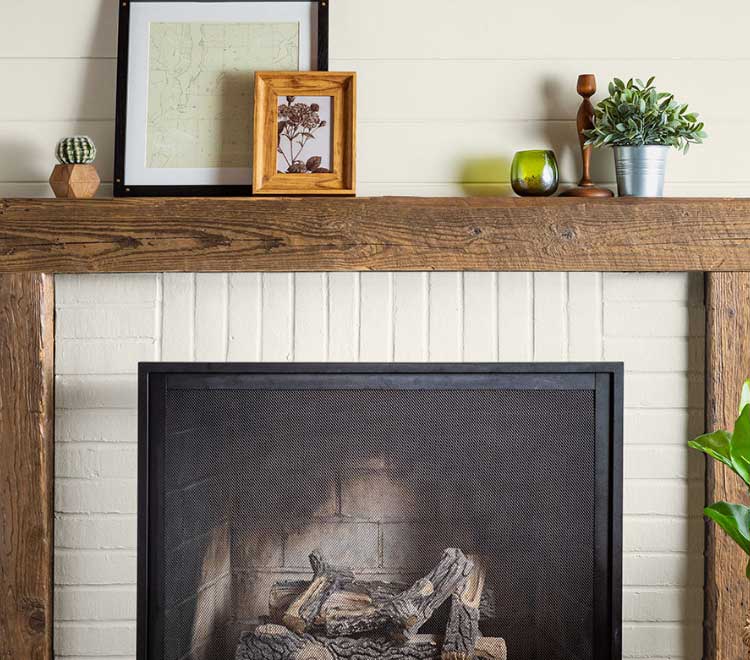
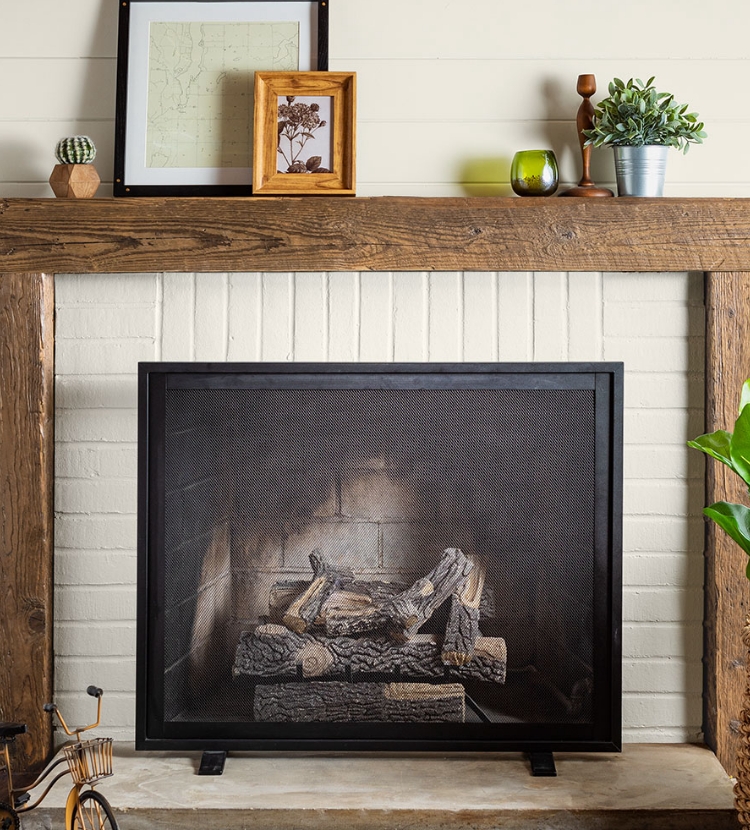
Beautiful painted white brick fireplace with a rustic wood mantle.

Easy DIY Fireplace Makeover

Turn an outdated fireplace into a modern beauty with a few coats of paint and a wood stain for the mantle.

GOAL OF PROJECT

Update the look of an old brick fireplace. 
DIFFICULTY
Intermediate
TIME TO COMPLETE
Weekend

SUPPLIES YOU’LL NEED

2” or 2.5” Chinex® Elite™ Brush
Marathon® 4” x 1/2” Jumbo Mini Roller Cover
12” Revolution™ Jumbo Mini Roller Frame
Crisscross Wire Brush
Mini paint tray
TSP Cleaner
Gloves
Oil-based, stain-blocking primer
Paint
Tape
Drop cloth
Rags

FOR THE MANTLE (OPTIONAL):
2.5” or 3” White Bristle Brush
2” or 2.5” Syntox™ Brush
Wood stain, like Minwax® Wood Finish
Clear coat

Animated before and after transition of unpainted and painted fireplace.

Step 1 Clean the brick

Use the crisscross wire brush to remove any loose dirt and soot.

Following package instructions, use TSP cleaner to remove stubborn stains. This step will ensure the paint adheres properly to the surface. Rinse and allow to dry. 

Step 2 Tape

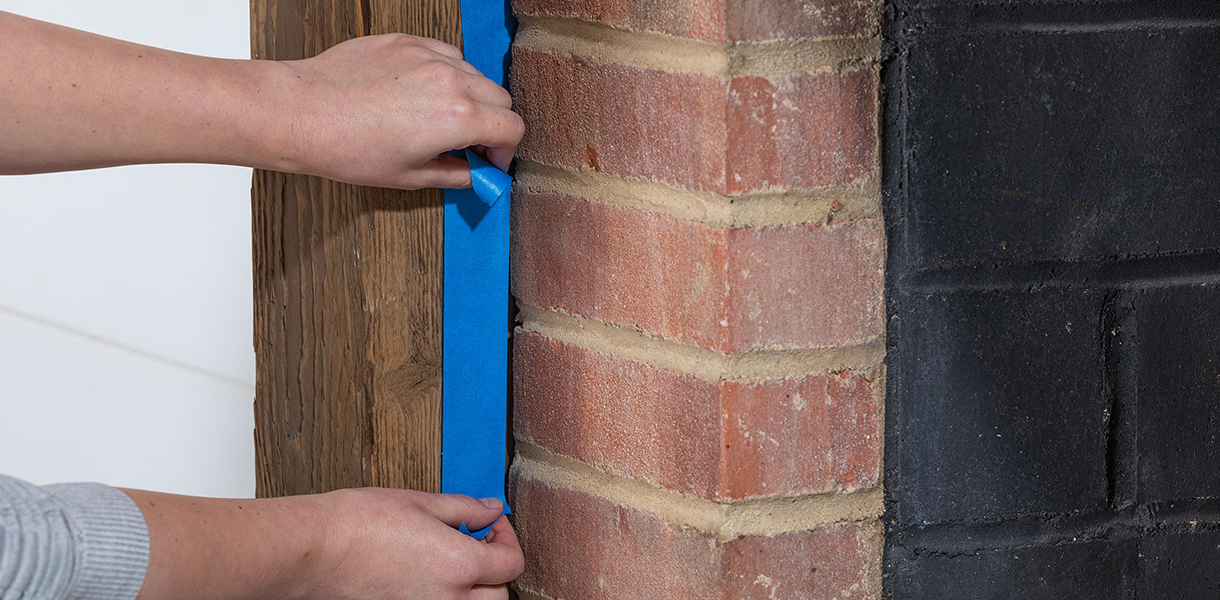
Tape off the firebox and the surrounding trim. Place a drop cloth on the floor. 
Step 3 Apply primer

Use your Chinex Elite brush to cut in and around the perimeter and paint between the bricks. Chinex Elite has durable stiff bristles that are perfect for rough surfaces.

Use your Marathon mini roller to apply primer to the face of the brick. The Marathon knitted fabric provides excellent coverage on rough, porous surfaces. 

HELPFUL TIP
Do not apply primer or paint to the interior firebox of your fireplace; only exterior brick can be coated.

Step 4 Apply Paint

Apply paint around the edges and between the bricks using your Chinex Elite brush.

Use your Marathon mini roller to paint the face of the brick. Marathon is great for both oil- and water- based paint or primer formulas. 

HELPFUL TIP
Depending on the paint you’re using, you may need 2-3 coats to receive results you want. Always follow product label instructions for recoat and full dry times.

Step 5 Remove Tape

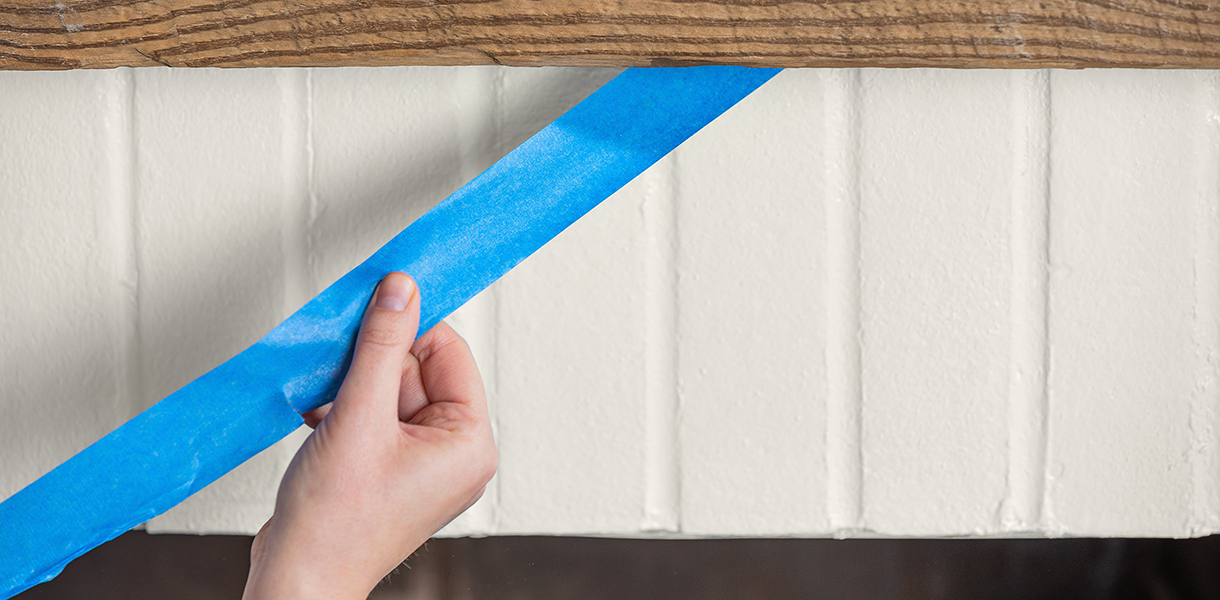
Carefully remove the tape and let the paint dry completely before moving on to staining the mantle. 
Step 6 Stain the mantle

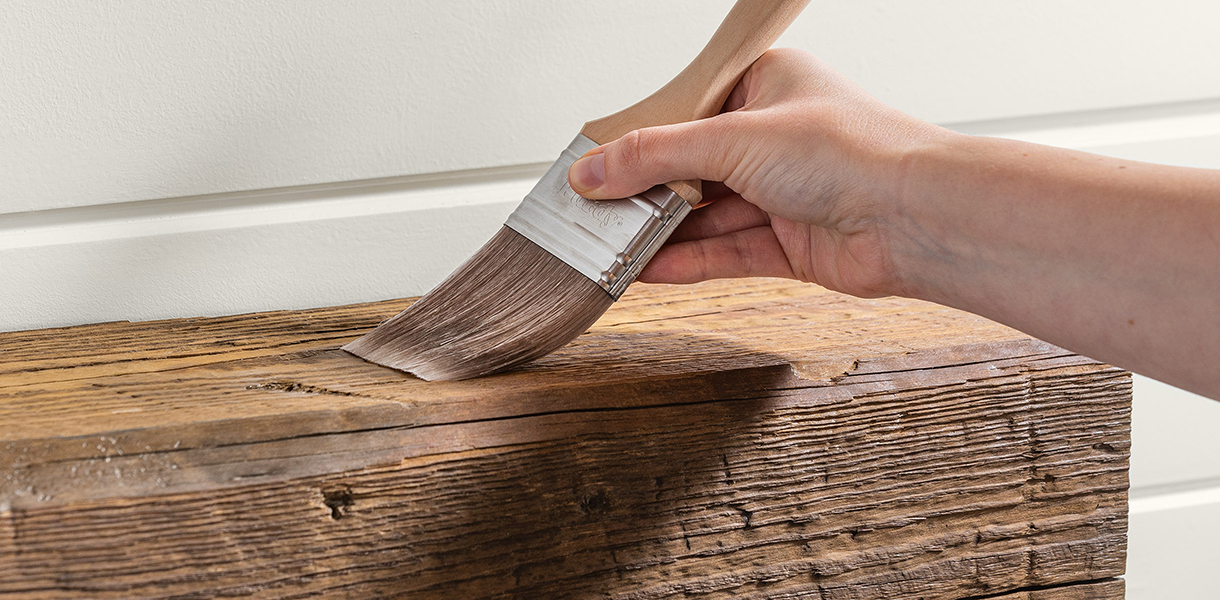
Use your White Bristle brush to apply stain in the direction of the grain. These brushes have natural bristles that are ideal for oil-based stains. 

HELPFUL TIP
Always read label instructions. Stain colors may look different on different types of wood. Test the color on a scrap piece of wood or in an inconspicuous area to better visualize the final result.

Work in the direction of the grain. Let the stain soak in (the product label will tell you for how long). Wipe off excess stain with a clean rag. 

HELPFUL TIP
When covering a large surface, work in sections, wiping the excess stain as you go to ensure even color. Change the rag often. You may add a second coat for a deeper color. Follow label directions for recoat times.

Step 7 Apply clear coat

Once the stain is fully dry, use your Syntox brush to apply a clear protective coat. Syntox has extra-soft bristles that create a very smooth finish with no brush marks.

Once the clear coat is fully dry, remove any remaining tape and add some decorative pieces to your newly transformed fireplace. 
Completed Project

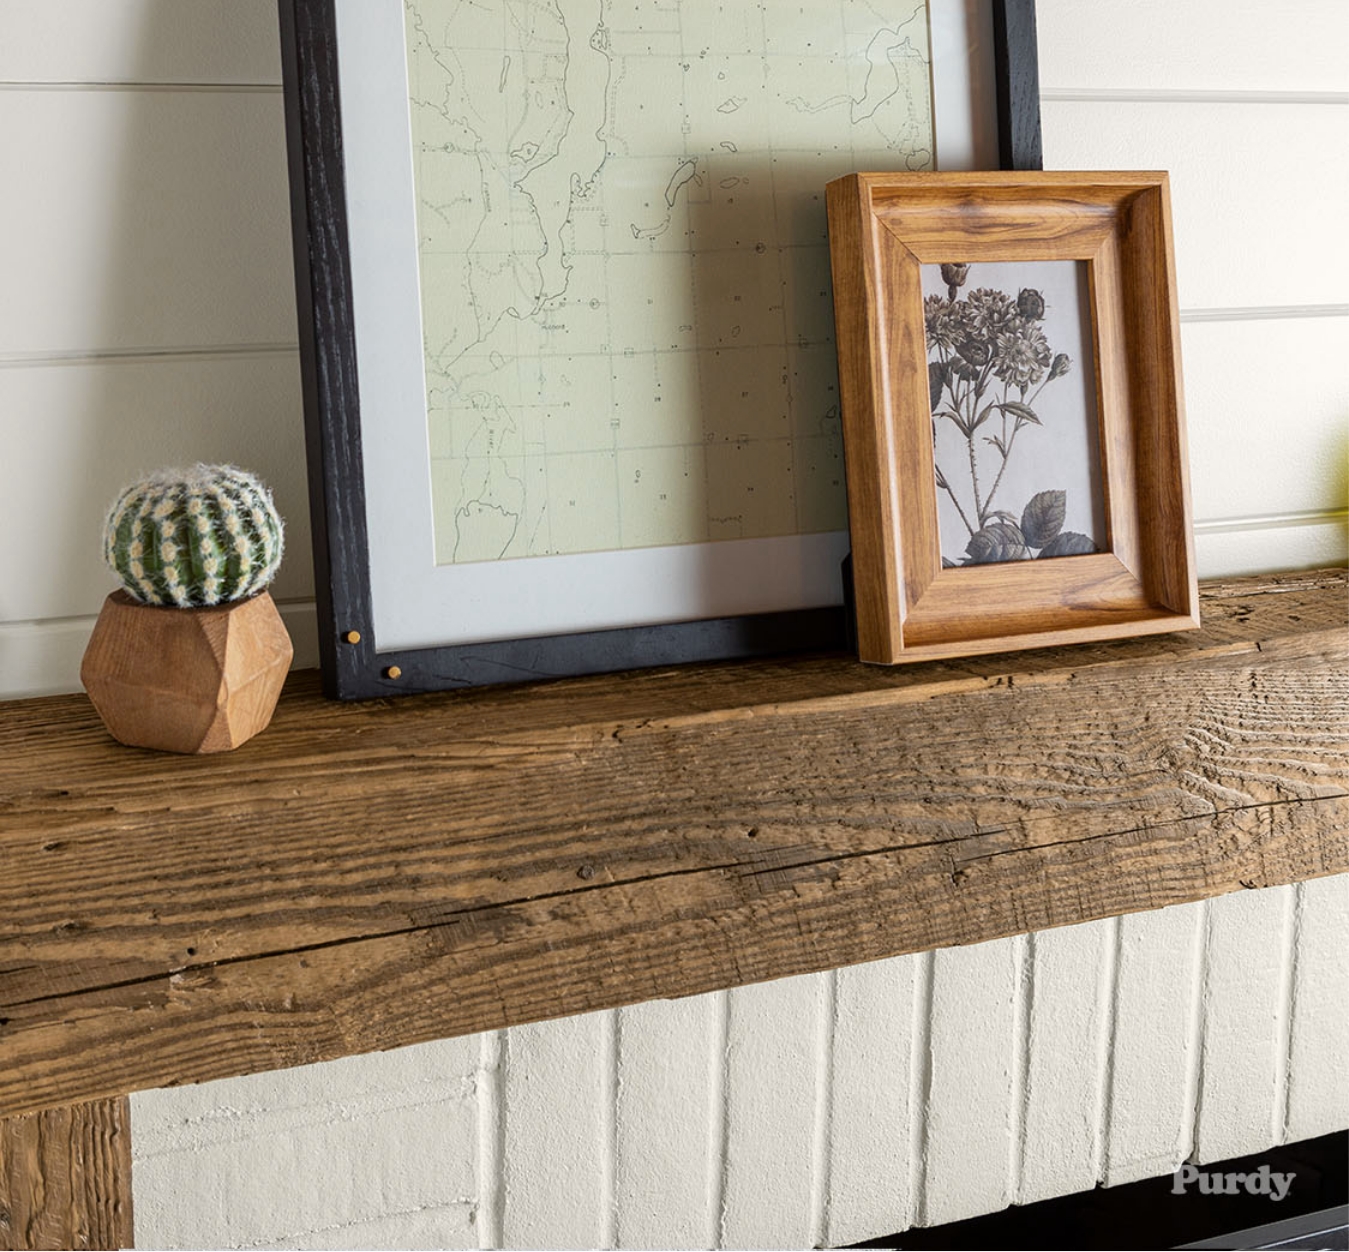
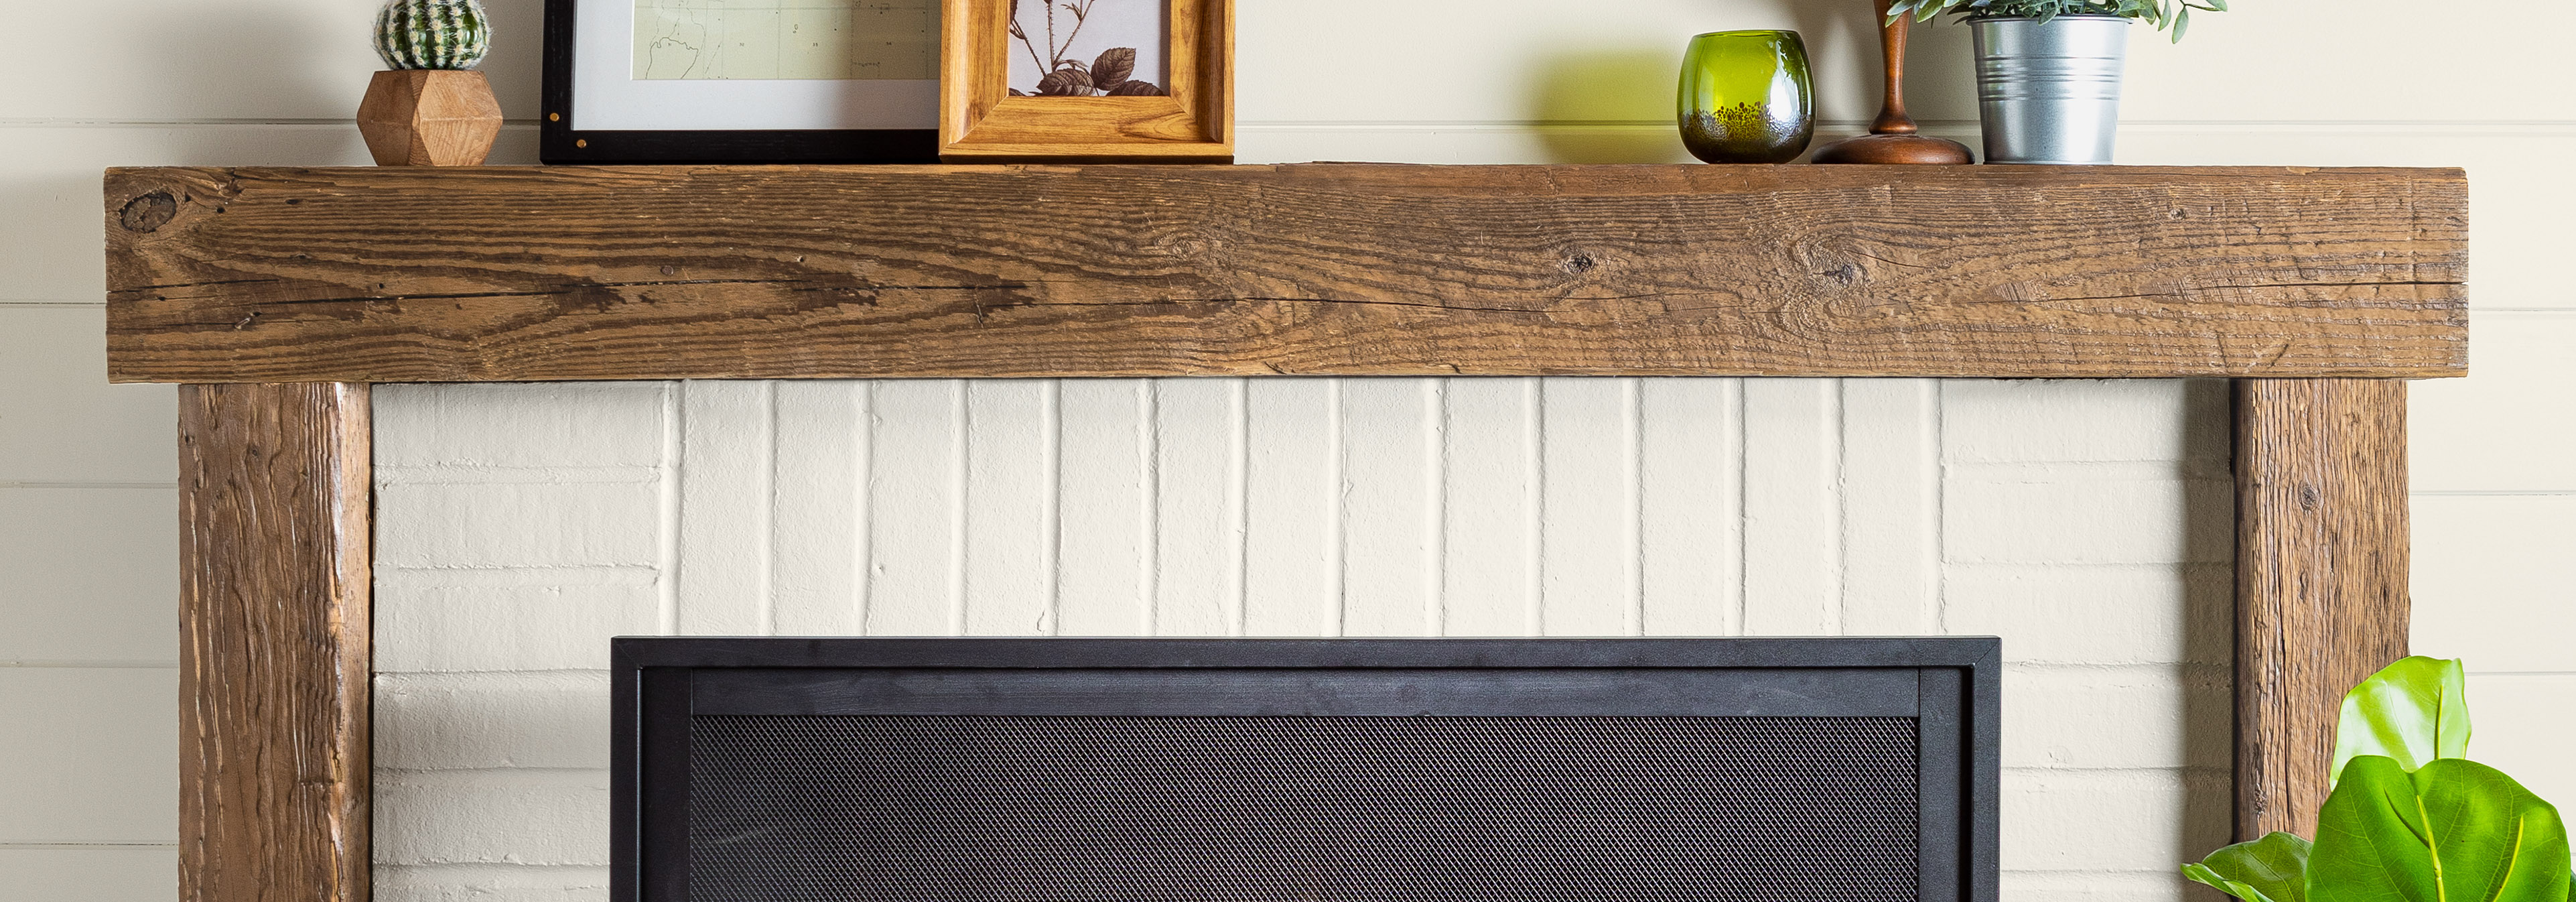
painted fireplace
painted fireplace

Related Projects

Modern front door painted bright yellow color with white trim.
Statement Front Door

Create curb appeal with a bold color.

Detail of the finished stenciled floor with a white cabinet and a straw basket.
Stenciled Floors

Create an eye-catching look of patterned tile.

Close up view of the finished project, desk with books, a coffee cup, a globe and office supplies.
Color Block Wall

Transform your space with tone-on-tone color